
Here are some simple DIY wooden toolbox plans that will help you build a basic tool chest to easily hold your everyday tools.
We used a clear finish on this toolbox, but you can paint or stain it any way you like.
This project is built using 3/4″ plywood and is quite sturdy.
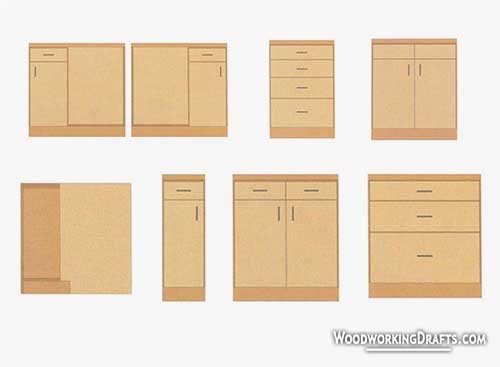
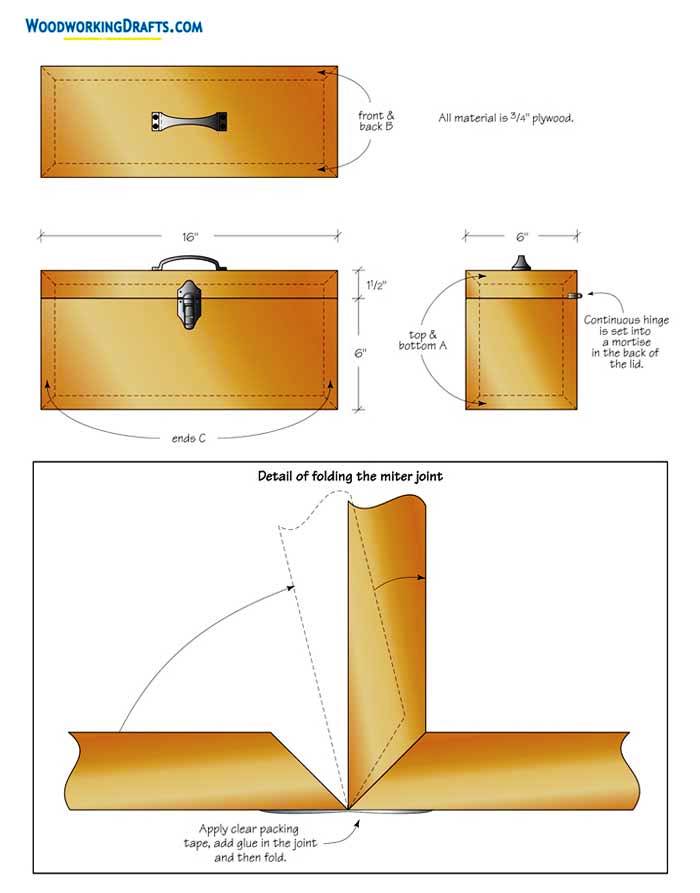
DIY Wooden Toolbox Plans And Blueprints
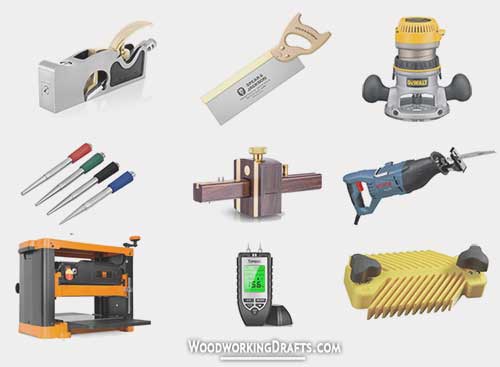
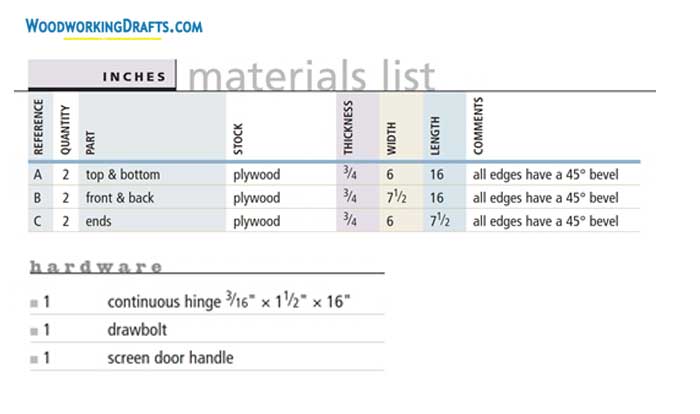
Materials List For Simple Wooden Toolbox
DIY Building Instructions For Wooden Tool Carrier
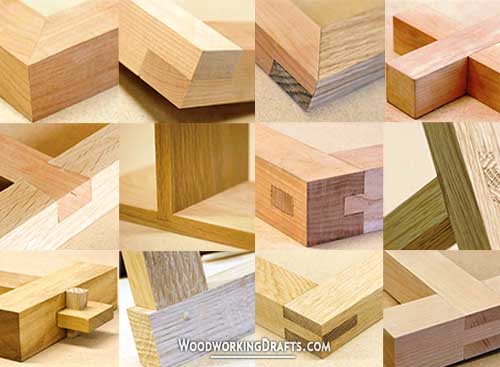
- First, cut all the individual parts to the dimension as provided in the material list. Use a table saw to cut 45-degree bevels on the edges of the box sections.
- Check that all the corners join at a right angle to ensure an accurately square fit when joining and gluing the pieces together.
- Arrange the end pieces, bottom, back, and front pieces of the box on a table, and use clear tape to fasten the joints and form a hinge. Check that the beveled edges align accurately.
- Now reverse the whole assembly upside down and cover all the edges that will touch each other with glue.
- Clamp down all side joints snugly, taking care only to apply moderate pressure.
- After the glue dries, take out the clamps and cover the other beveled edges with glue and secure it to the top.
- Once the glue has dried completely, scrape away any excess glue. Use a table saw to cut the lid of the toolbox. Now the lid will fit perfectly.
- Use a table saw to cut out the groove for the hinge and then install the hinge. You can extend the hinge beyond the box’s edge to let the lid open up to 180 degrees.
- Now attach the screen door handle and drawbolt.