
Detailed DIY woodworking project plans, blueprints, and material lists for hundreds of different projects are available on our website.
DIY Woodworking Project Plans Index
Whether you are a beginner looking to improve your crafting skills or a pro woodworker looking for your next weekend project, you can find some really helpful woodworking blueprints below.
Most Popular Woodworking Plans
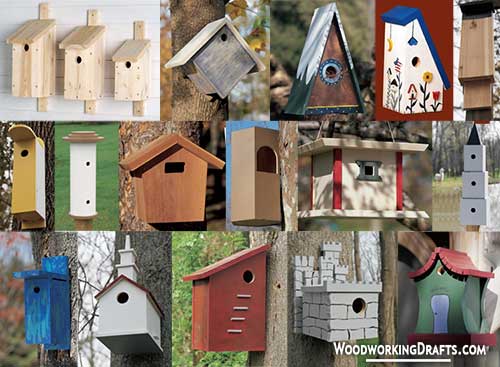
33 DIY Wooden Bird House Building Plans Blueprints
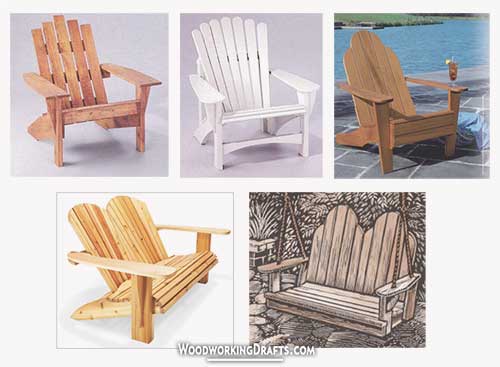
5 DIY Adirondack Chair Woodworking Plans Blueprints
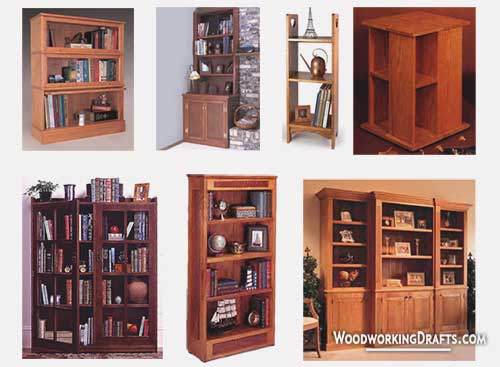
10 DIY Bookcase Woodworking Plans Blueprints
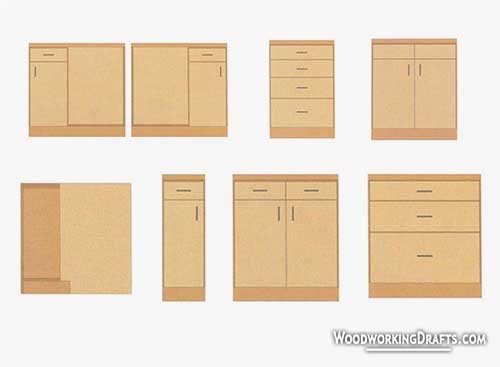
10 DIY Simple Base Cabinet Plans Blueprints
Plans For Building Wooden Toys
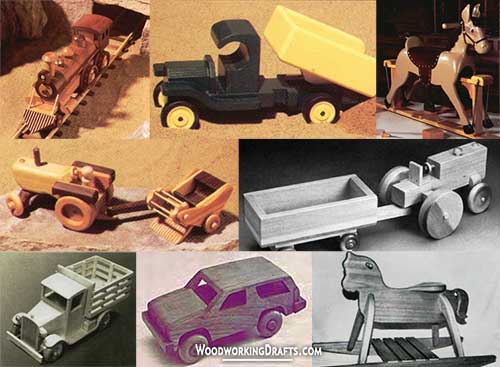
11 DIY Wooden Toy Plans Blueprints
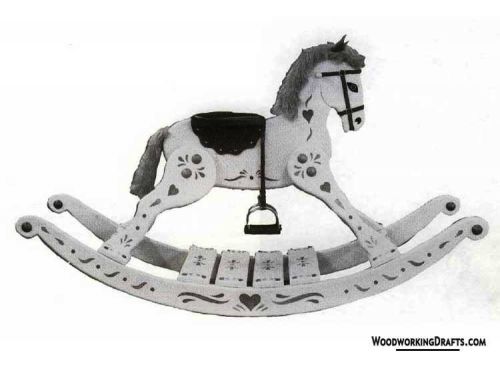
Wooden Toy Rocking Horse Plans Blueprints
Wooden Push Toy Plans Blueprints
Classic Clock Crafting Diagrams
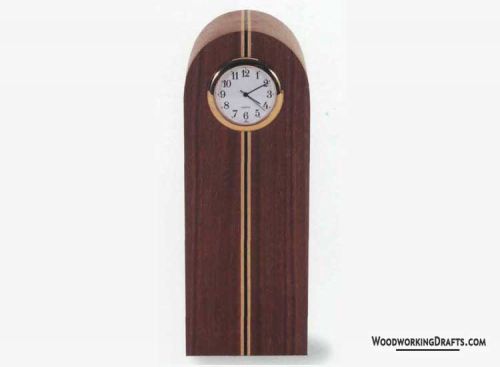
Mantle Clock Case Plans Blueprints
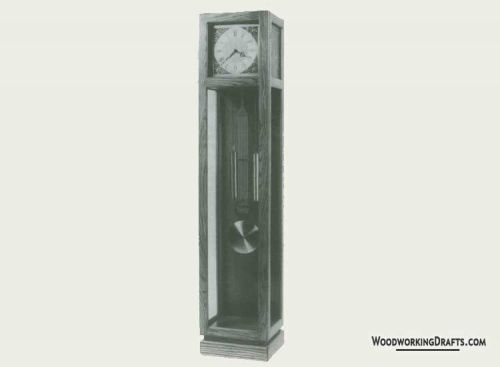
DIY Grandfather Clock Plans Blueprints
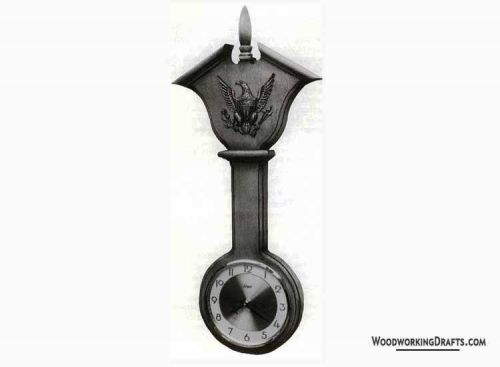
Wooden Banjo Wall Clock Plans Blueprints
DIY Woodworking Project Plans For Beginners And Pros
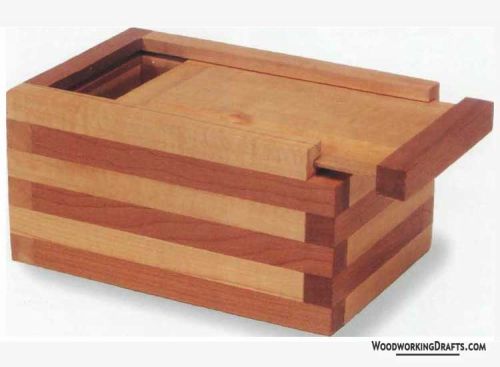
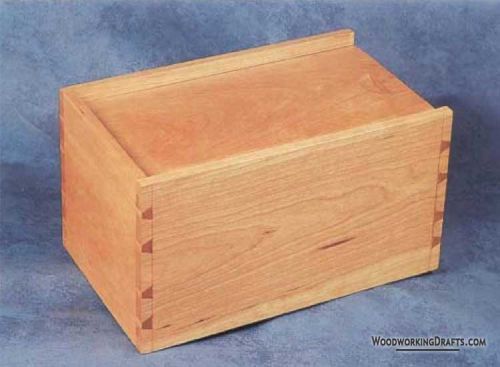
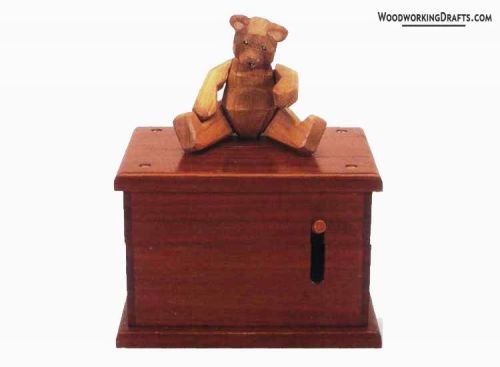
DIY Wooden Keepsake Box Plans Blueprints
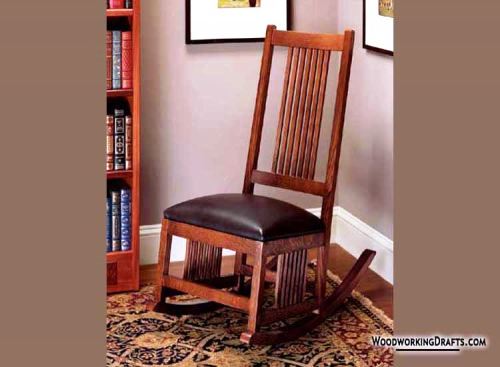
DIY Classic Rocking Chair Plans Blueprints
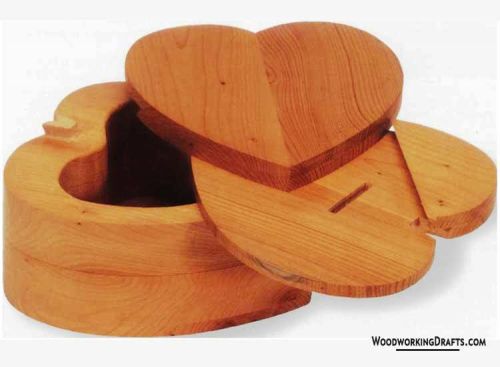
Heart Shaped Wooden Puzzle Box Plans Blueprints
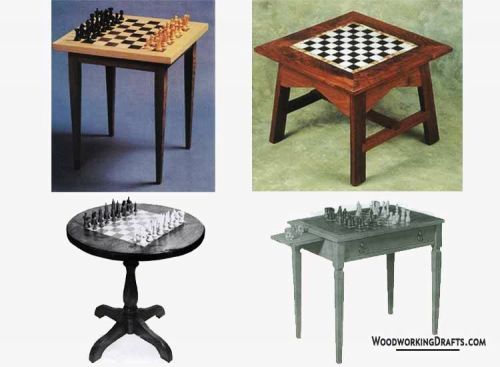
Chess Board Game Table Plans Blueprints
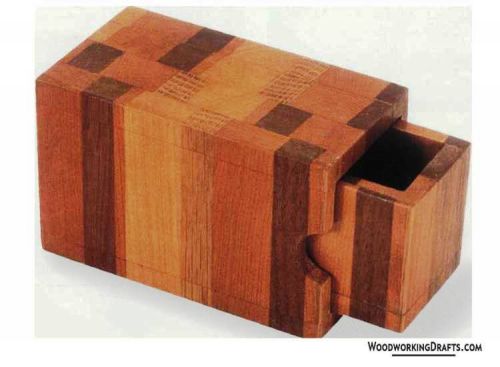
Small Elegant Wooden Jewelry Box Plans Blueprints
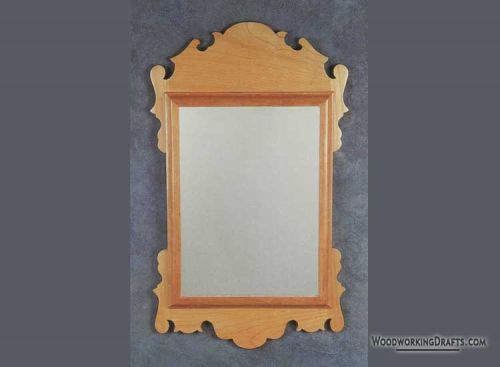
Chippendale Mirror Plans Blueprints
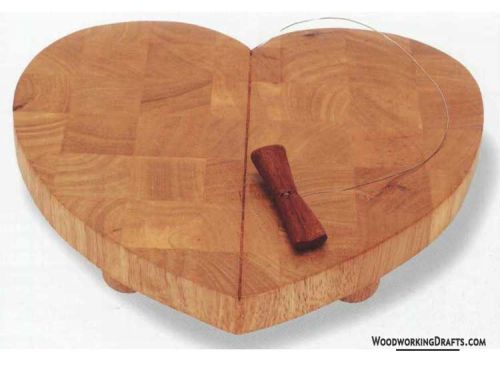
Wooden Cheese Board Plans Blueprints
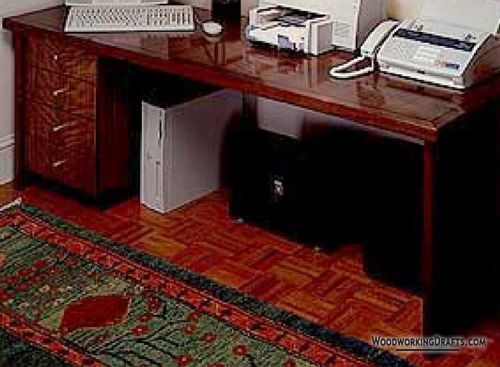
DIY Credenza Building Plans Blueprints
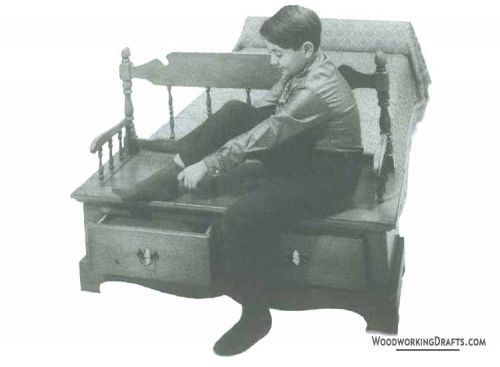
DIY Foot Locker Plans Blueprints

DIY Wooden Floor Lamp Plans Blueprints
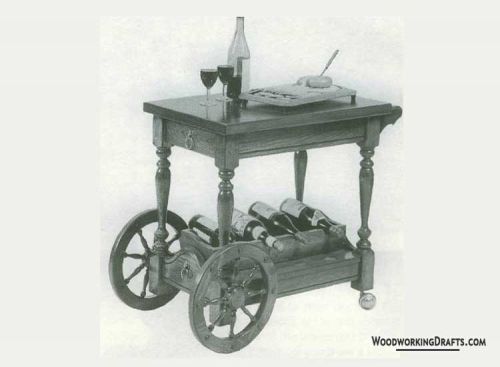
Vintage Wine Cart Plans Blueprints
Wooden Candle Box Plans Blueprints
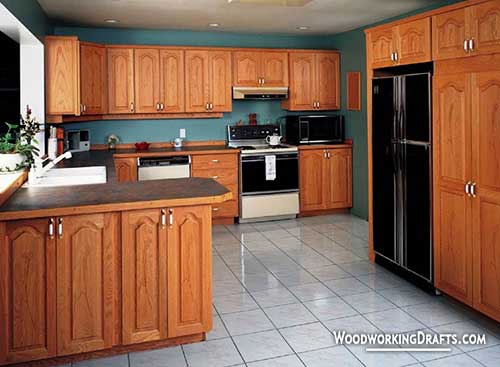
7 DIY Kitchen Storage Cabinet Plans Blueprints
Wood Carving Project Blueprints
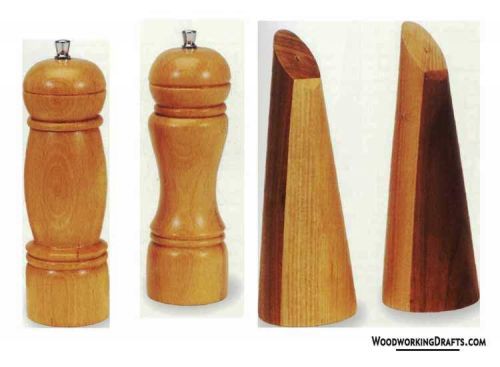
Wooden Salt And Pepper Shaker Plans Blueprints
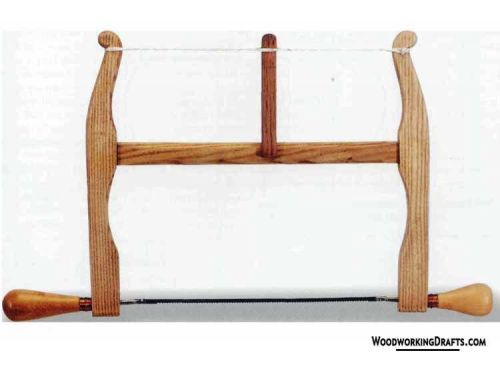
DIY Wooden Bow Saw Plans Blueprints
Wooden Piggy Bank Plans Blueprints
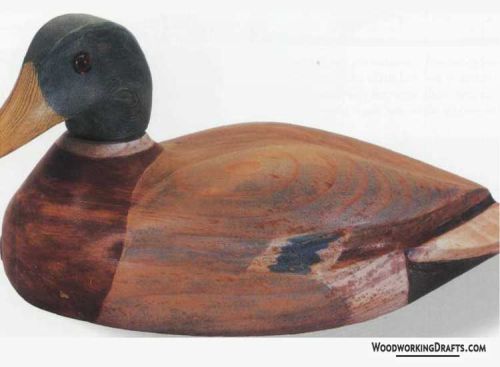
Wooden Duck Decoy Plans Blueprints
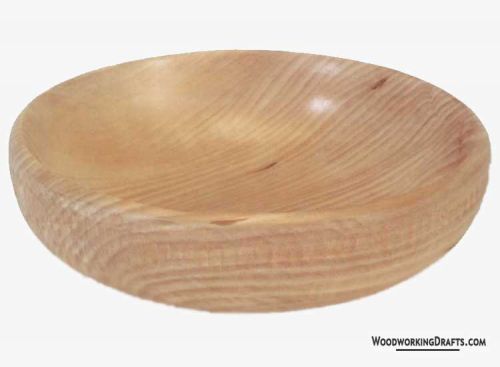
Wooden Fruit Bowl Plans Blueprints
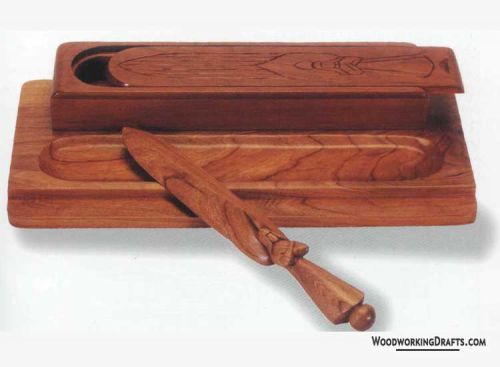
Wooden Letter Opener Plans Blueprints
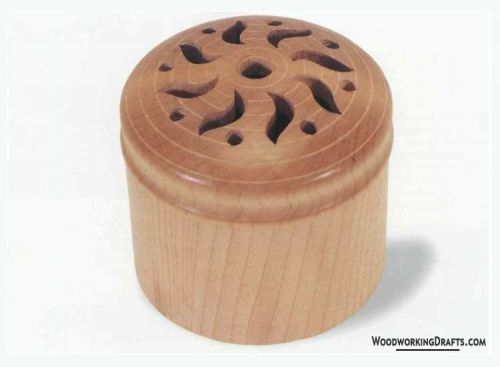
Wooden Potpourri Box Plans Blueprints
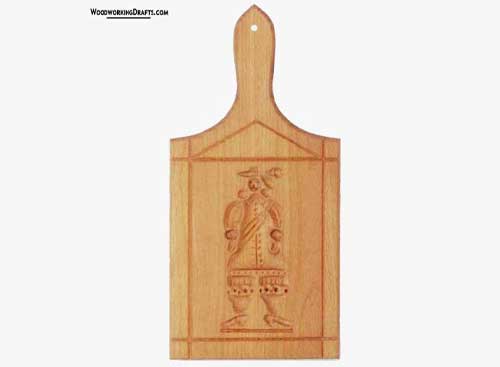
Springerle Cookie Board Plans Blueprints
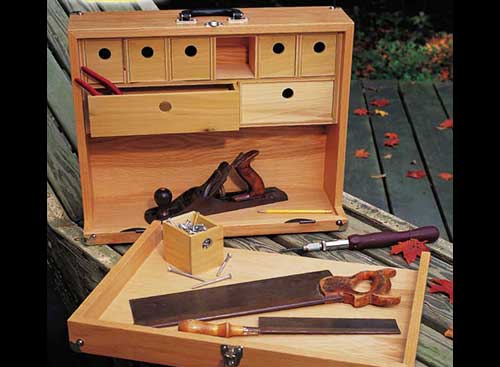
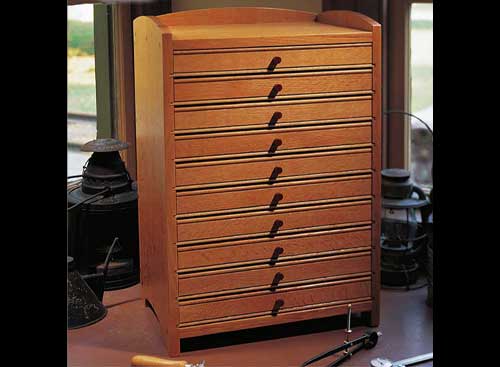
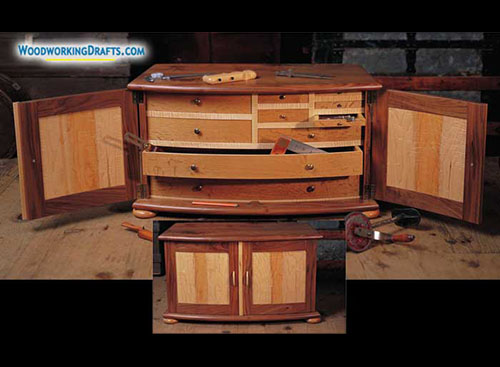
Plans For Tool Storage Chests, Cabinets & Caddies
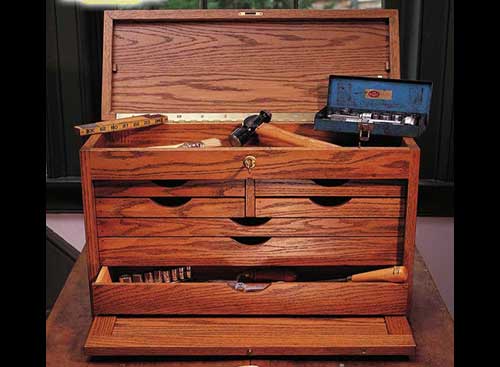
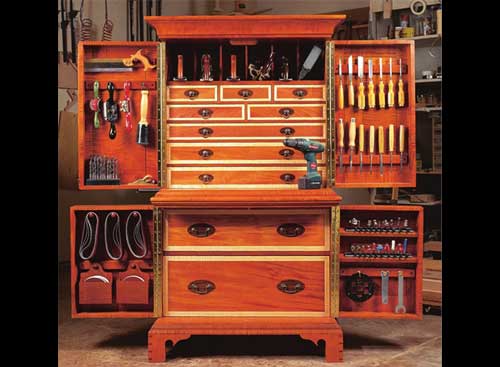
Cabinet Makers Tool Chest Plans Blueprints
Carpenters Wooden Toolbox Plans Blueprints
DIY Tool Storage Cabinet Plans Blueprints
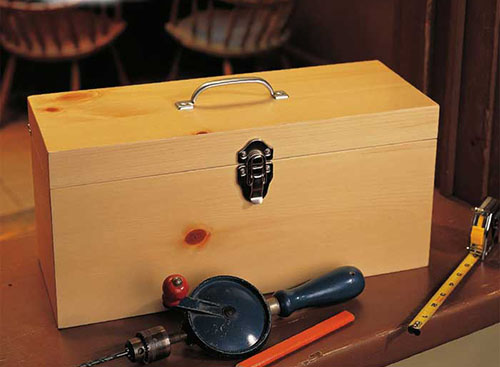
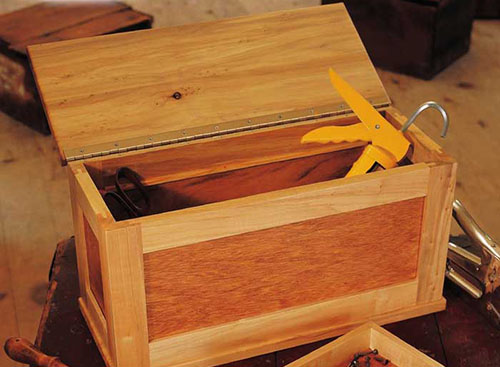
DIY Wooden Toolbox Plans Blueprints
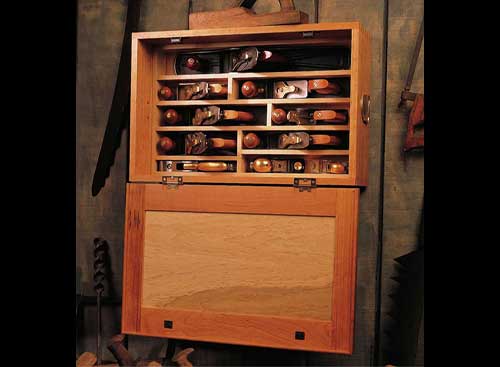
Hand Planes Tool Chest Plans Blueprints
Hanging Tool Cabinet Plans Blueprints
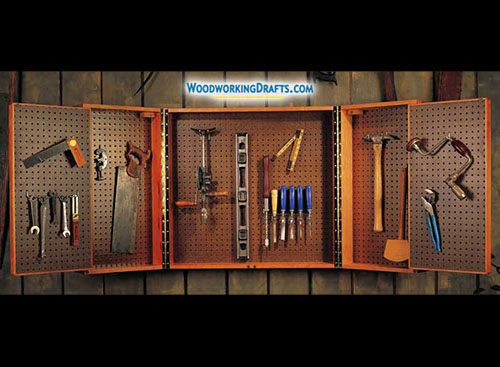
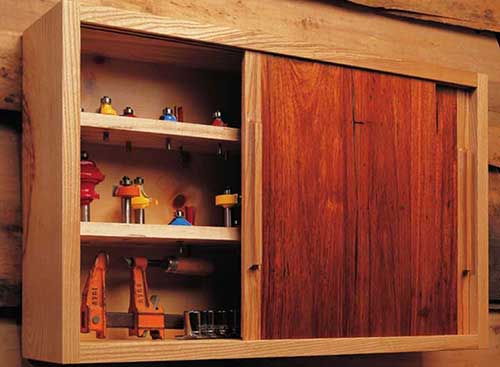
Pegboard Wall Hung Tool Cabinet Plans Blueprints
Rolling Wooden Tool Chest Plans Blueprints
Small Wooden Toolbox Plans Blueprints
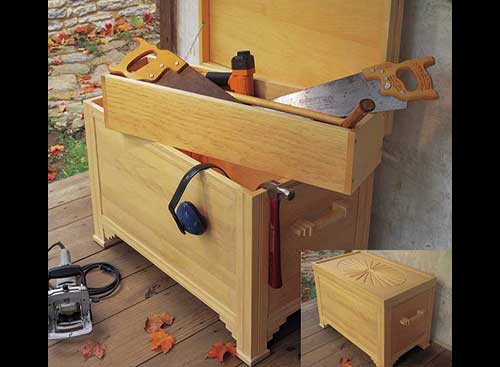
Traditional Tool Chest Plans Blueprints

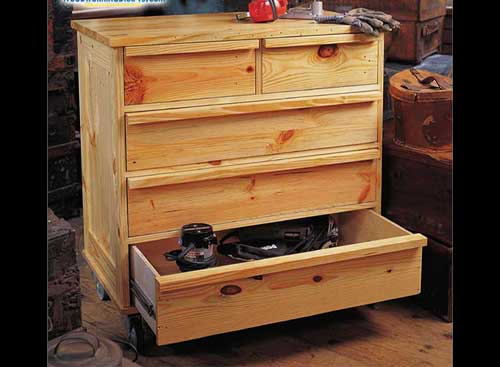
Wooden Multi Drawer Tool Box Plans Blueprints
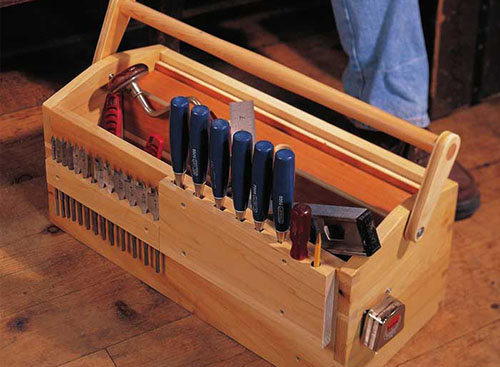
Wooden Tool Caddy Plans Blueprints
Wooden Tool Chest Drawers Plans
Woodworking Tool Chest Plans Blueprints
Essential Woodworking Techniques
There are some basic techniques in woodworking that are essential for building any indoor or outdoor project.
Let us look at the techniques used most commonly during the woodworking process.
How To Measure Wood Accurately
Measuring the timber is most often the first step in building any project.
You may think that any pencil and ruler are basically the same when you use them for measuring. But both measuring tools and marking tools can cause differences in measurements.
If you are using a carpenter’s pencil with a thick line, the marked line would usually be about 1/16 inches wide.
Depending on which side of the line you cut the wood, there could be a significant variance in length, especially when you are building smaller pieces.
For smaller woodworking projects, it is better to use a 5H carpenter’s pencil that makes a much thinner line.
Just like pencils, not all rulers are built the same. There can be noticeable differences in the dimensions of the ruler from one manufacturer to the next.
The simplest solution for this is to select one 12-inch rule and use this single ruler consistently for all your measurements during a project. Follow this same rule for other measuring tools like combination squares and tape measures as well.
If you are slowly building a project over several days, then make sure to keep using the same measuring tools for crafting each section.
To enhance the precision of your measurements, it is better to always measure outwards from a board’s edge. This creates a reference that you will be able to reuse again, and your measurements will remain equal.
Another essential tip is to always mark a board in one direction only. Hold the board with the front towards you and start marking from the left to right as you scribe the lines for cutting out sections. And follow this same routine on all boards.
This will make sure you always cut on the same side of the marked line, and you will be better able to recognize the cut pieces afterward.
How To Cut Wood Cleanly
After you have measured the timber boards and scribed markings on them, the next step is to cut them into the desired dimensions.
The three most common saws used for cutting wood are the miter saw, jigsaw, and circular saw. The table saw is also frequently used, but since that is a more expensive tool, for now, let us assume you would be using simpler tools.
Before we move to electric saws, let us take a look at handsaws. They are very simple to use and are ideal for making smaller and finer cuts.
Handsaw
Place the board you would be cutting into on two workhorses or place a scrap piece of wood underneath it and place it on a solid surface like a table.
Start sewing along the scribed measurement line, and once your saw hits the scrap board, you will know that the cut is complete.
Jigsaw
Now let us look at the jigsaw. It is a very useful tool for any woodworker because it can make both straight and curved cuts. Only use a jigsaw to cut boards that are secured firmly, or else the board may move as you are making the cut.
Jigsaws cut through the wood in a way that leaves behind a neat underside on the cut piece. So make sure to cut on the right face of the board depending on which face you want to look clean.
A jigsaw can produce a lot of wood particles and sawdust as it cuts through wood, so make sure to cut in a properly ventilated area. If you don’t have a dust removal system, then it may be better to wear a face mask.
Circular saw
Circular saws are most suitable for making straight-line cuts. It is much faster and easier to run a circular saw along a timber board than it is to make the same cut using a jigsaw.
However, since a circular saw has a bigger and thicker blade, it will leave a wider kerf in the cut wood pieces. Hence a jigsaw is better for making smaller cuts, while for large cuts, you should use a circular saw.
Circular saws also have the advantage that you can change blades as per your needs, whereas a jigsaw is designed to use only one blade.
Jigsaws are good for small straight cuts and curved cuts, whereas circular saws are better for making long straight cuts.
Mitre saw
A miter saw is used when you want to make a cut in wood at an angle. Both hand-held miter saws and electric miter saws are available.
A hand pull miter saw is enough if you are just starting out. Use a clamp to hold down the stock while cutting with a hand mire saw.
If you have the budget or frequently make bevel cuts, then an electric compound miter saw will be a good investment.
How To Drill Holes Correctly
You will have to drill holes in wood as part of many DIY projects. You’ll need to drill holes to fasten hinges, bolts, screws, nails, and even sometimes just to let air into a closed box.
Basically, you will be drilling a lot of holes.
The thickness of the board will determine what kind of drill bit you will use to drill the hole. They are a wide range of drill bits available for creating various kinds of holes.
It is a good idea to test out each of the different drill bits on a scrap piece of wood. This will show you the capability and limitations of each drill bit.
If you are drilling into a thin board, you may be able to create a hole in a single go. For a thicker board, you may have to first drill a shallow hole using a larger bit and then use a smaller bit to punch through the wood.
When you are marking the locations to drill holes on a board, it is a good trick to use a nail and hammer to make a tiny hole in the required spots instead of just marking with a pencil.
The tiny nail hole will act as a guide for the drill bit and prevent it from slipping as you drive it inward. First, run the drill at a slow speed until the bit is about halfway through, and then increase the speed and punch through the board.
Using Bolts, Screws & Nails Effectively
When you need to connect two pieces of wood together, there are many ways to do it. You can either glue them or use a fastener like a bolt, nail, or screw.
Screws
Screws are usually the most secure way to fasten components because they are sturdier than nails.
Screws are harder to insert as they need to be twisted while inserting, but they can also be easily removed. This allows you to take apart components later if you realize you made a mistake.
The two common types of slotted screw heads are the regular ones which look like a minus sign, and the Phillips head, which looks like a plus sign.
The best way to fasten a screw into wood is to first drill a pilot hole and then insert the screw.
Wood screws are the type of screws most frequently used by woodworkers during the building of most projects.
Lag screws are used while framing larger structures. They need to be tightened with a wrench instead of a screwdriver.
Bolts
A bolt is basically a screw without a sharp end. A bolt is secured by fastening a washer or nut at the other end to create a really tight joint. Bolts are stronger than screws.
Carriage bolts have a square collar and a round head. They are frequently used in furniture construction.
Hollow wall bolts are used to connect lightweight objects like when hanging a picture frame on a wall.
There is a spring inside the bolt that opens outwards and secures the bolt in place once it reaches inside the hollow wall.
Nails
Nails are the simplest and most frequently used fasteners in woodworking. While nails can be easily driven into wood with a hammer, they are harder to remove compared to screws or bolts.
Nails come in various types and lengths based on different uses.
Common nails have thick heads, which makes it easy for them to drive into most kinds of wood. These are the most commonly used nails in woodworking.
Box nails have a smaller diameter and weigh less. They are used in projects where the wood isn’t going to experience any significant loads.
Wiggly nails or corrugated fasteners are used for building joints where you want the nail to slightly bend instead of remaining stiff and straight.
Finishing nails are lightweight and have really small heads that make them nearly invisible when driven correctly into the wood. They are used in places where you want to conceal the nail for aesthetic reasons.
How To Glue Wood The Right Way
You might think it is a very simple process to glue two pieces of wood together and let them dry.
But the types of wood glues available and the kinds of mistakes you can make while gluing are much more than you might expect.
Here are the most frequently used types of wood adhesives.
Polyvinyl Acetate Glue (PVA)
PVA is the most commonly used wood glue available in most retail stores.
PVA doesn’t change color or become brittle over time, so it retains its beauty and sturdiness.
It is available in both water-resistant varieties for indoor project use and waterproof variety for outdoor projects.
The only limitation of PVA is that it doesn’t absorb stain well. So if there is any glue left behind on the wood surface after sanding, it will become highlighted after staining.
Polyurethane Glue (PUR)
Polyurethane glue is sold under the brand name Gorilla glue. It creates a very strong bond.
It is usually used in joints where the strength of the joint is extremely important for the sturdiness of the structure.
This glue expands as it dries, so only use it before planing or sanding your project.
PUR also has a long curing time, so you will need to leave the components clamped in place as the glue dries.
Polyurethane glue is water-resistant, so it can be used for outdoor construction.
Cyanoacrylate Glue (CA)
Cyanoacrylate glue is more popularly known as crazy glue or super glue.
CA glue dries up quickly and is best used for gluing small parts.
This glue is usually used for attaching trim and molding. Its also used in furniture repair as it is clear in color.
Epoxy Glue
Epoxy glue consists of two different components, a hardener, and a resin. When these two components are mixed together, they fuse and create a sturdy glue.
Epoxy is usually used to repair damaged wood and to fill gaps between wood pieces.
It is resistant to heat and water and sticks to even metal and plastic surfaces.
Epoxy is useful if your wood joinery is a bit misaligned and needs a little filler.
Hide Glue
Hide glue is the oldest and most original kind of wood glue. It is created from animal hide.
One advantage of hide glue is that you can take apart a glued joint simply by heating it. This glue is non-toxic and also absorbs wood stains well.
How To Sand Wood Smoothly
Sanding is one of the final processes in any woodworking project. It removes any imperfections, stains, or marks left on the board and makes it easy to apply a finish.
The simplest way to sand wood is to use sandpaper. Sandpaper is available in a wide range of grits. The larger the grit number, the finer the sanding.
Since our main purpose with sanding is to remove imperfections from wood, you should always start sanding with a low grit sandpaper like #30.
Once all the major imperfections are removed, you can change to a #60 sandpaper to make the sanding even finer and remove finer marks.
Finally, use a #150 sandpaper to remove any remaining scratches and leave a fine and smooth finish on the wood surface.
When you are just starting out, it is fine to sand with your hand. As you start building more and more projects, you should get yourself an electric sander.
Electric sanders like the orbital sander leave fewer scratches on the wood surface compared to hand sanding.
With each woodworking plan, you use to build a new DIY project, your crafting skills will improve more and more. As they say, repetition is the mother of skill.
