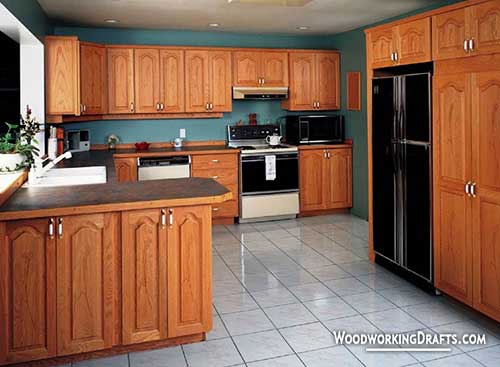
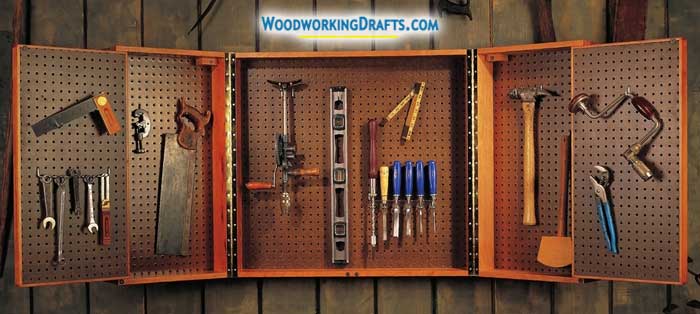
These plans for a wall-hung pegboard tool cabinet will help you construct a compartment that can open into a nine feet-wide storage chest.
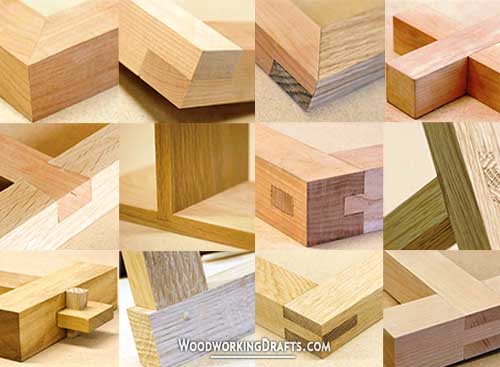
The strong continuous hinges support the heavy load of the tools. The carcass is built using dovetails to ensure durability and provide ample space.
Wall-Hung Pegboard Tool Cabinet Plans And Blueprints
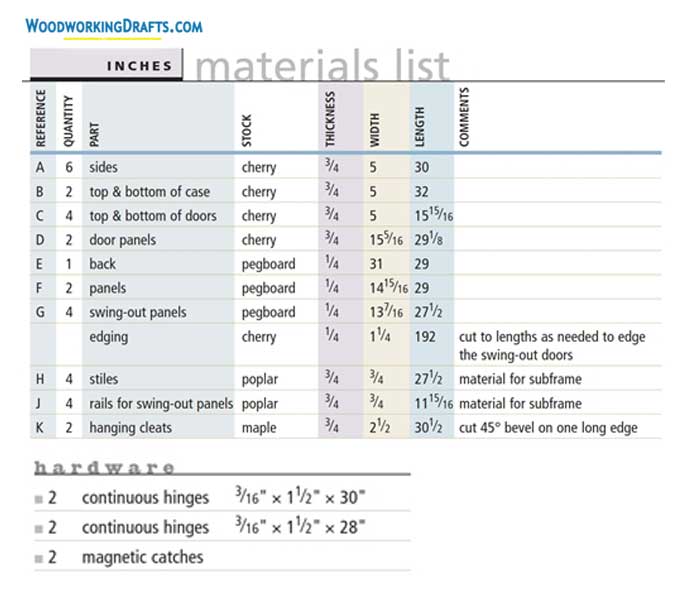
Materials List For Pegboard Tool Cabinet
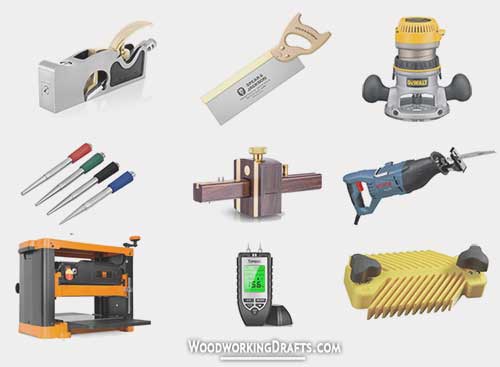
Instructions For Building Wall-Hung Pegboard Tool Cabinet
- Craft the components for the cabinet and cut dovetails into them using a table saw.
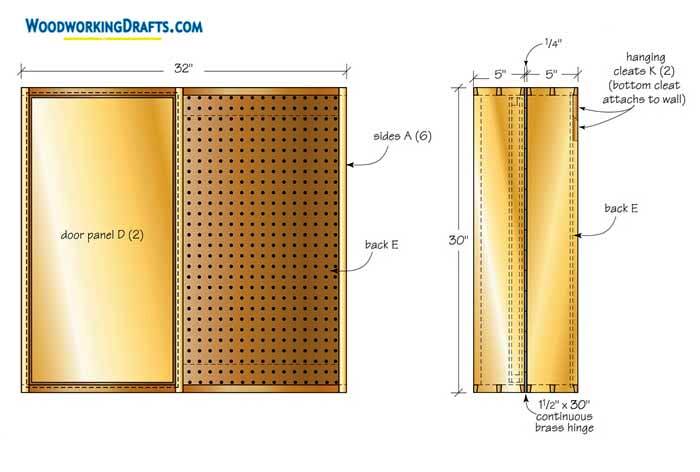
- Create the channels for the back panel into the side panels.
- Fasten the back panel using glue and secure the hanging cleat to the top panel and back.
- Make the cleat more sturdy by countersinking screws into it.
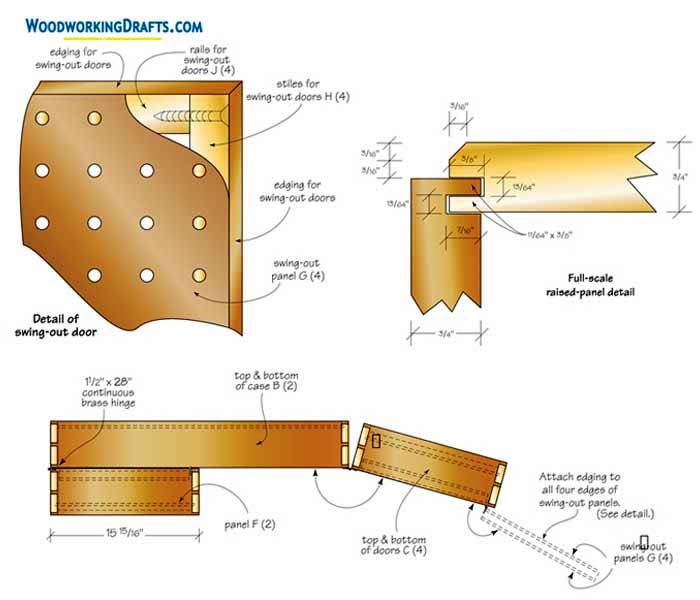
- Create a channel at the door panel’s edge to offset it. Use a saw blade with square teeth. Create the channels for the side, top, and bottom pieces of the door similarly.
- Angle the saw blade at 45 degrees and create the bevel into the door’s upper edges. You can also create the bevel using a block plane.
- Put together the door panel pieces and see if they fit correctly. Don’t glue them yet.
- Create the parts for the hinged panels and fasten them by driving screws into butt joints.
- Craft the pegboard panels about 1/4 inch wider and taller than the frame and secure them to the frame with glue.
- Trim the sides of the pegboard level with the frame’s edges after the glue dries.
- Create a rabbet for the hinge in the door and then fasten the hinge to the cabinet and door with screws.
- Verify that the door aligns correctly when it is closed.
- Fasten the hinge for the panels that swing out to the inner door face with screws.
- Craft a spacer that is equal in thickness to the hinge and set it between the swing-out panel and the door face.
- After the swing-out door is fastened, it should close level with the inner door face.