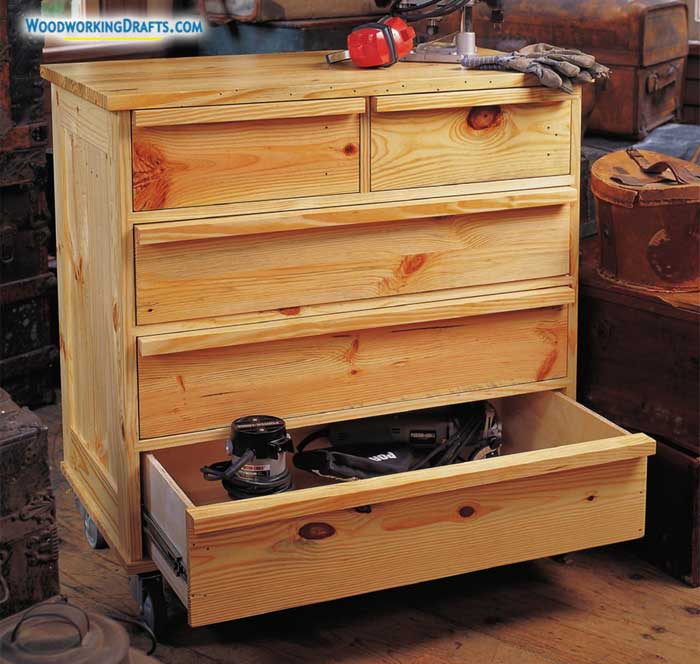
You can construct a large mobile tool cart with these rolling wooden tool chest plans to hold all your power tools.
And you can have them always handy no matter where you are in your workshop.
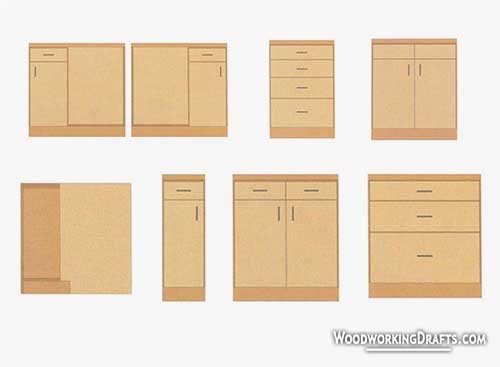
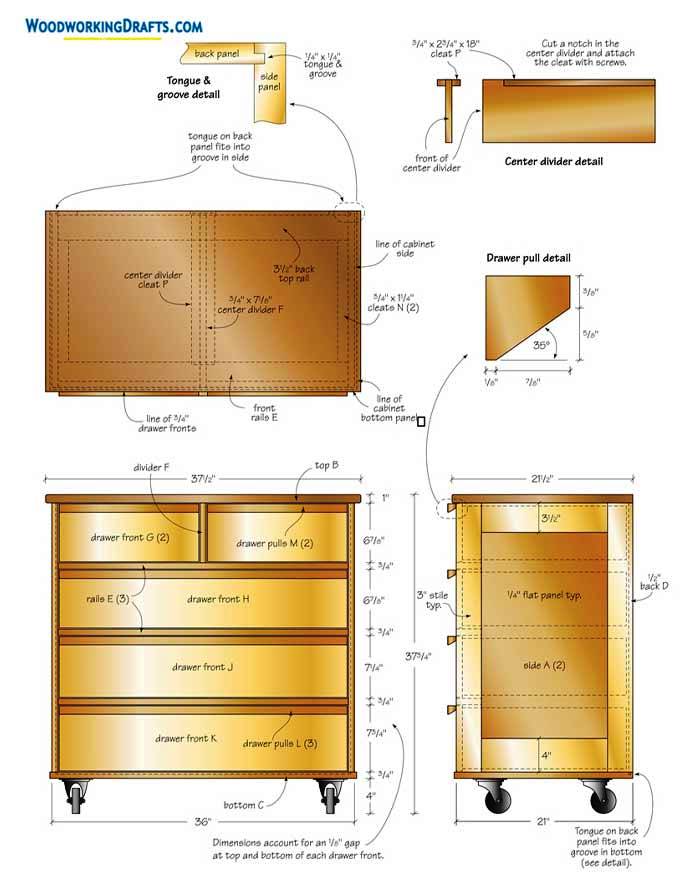
Rolling Wooden Tool Chest Plans And Blueprints
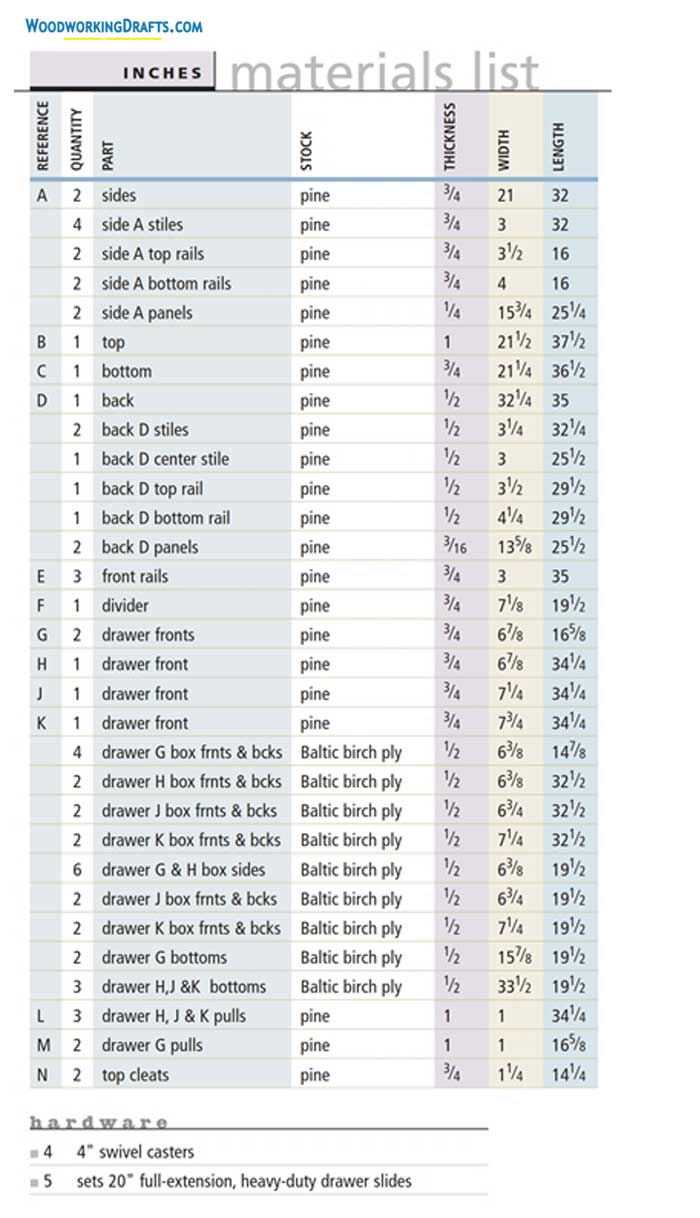
Materials List For Rolling Wooden Tool Chest
DIY Instructions For Constructing Rolling Wooden Tool Chest
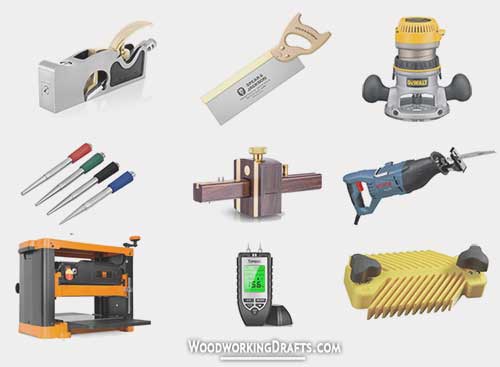
- Check all the timber boards that will be used for the project and ensure that they don’t contain any metal pieces like staples, nails, or screws.
- Build the frame, side panels A, and back panel D first.
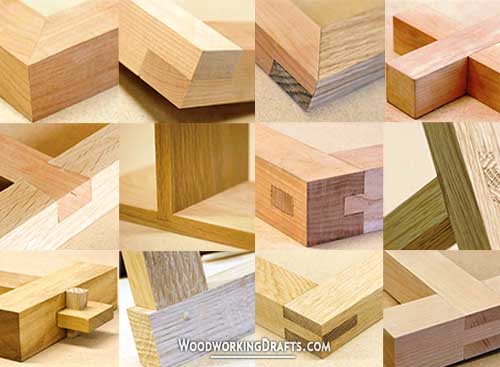
- Create grooves into the bottom and sides of panel C and matching tongues into the bottom and sides of the back panel D.
- Arrange the front rails’ dovetails slots into the side panel and craft the stopped slots with a router. Then create tails on the front rail ends with the same router bit while using a scrap piece of wood to hold the rail tightly.
- Assemble all the slot and tail parts together with glue and insert the rail E into position.
- Secure the back panel into the grooves of the side panels with glue.
- Create biscuit slots into the bottom edge of side panels and into the bottom panel C.
- Fasten the bottom panel into place with glue, biscuits, and screws.
- Rest the cabinet to one side and attach the slides for drawers. First, scribe a middle line on the side of the cabinet where the slide will be attached, taking care that it is square with the front side.
- Now drill pilot holes along this line for inserting screws. Mount heavy-duty full-extension drawer slides along this line and fasten with screws.
- On the upper side of both side panels, attach the top cleats N. Apply glue into the upper back groove and fasten the cleats to the top with screws.
- Craft the segments for the drawers and assemble the drawer boxes with screws.
- Fasten the bottom of the drawers to the boxes. Use at least 1/2 inch thick plywood so that the drawer can support heavy loads.
- Mark a middle line along the drawer box sides for attaching the hardware for the runners. Test fit each box into the cabinet and position them accurately with the front of the drawers.
- Install the fronts of each drawer box by securing two screws on the upper side and one on either side.